Overview
Project Settings allow you to customize how Corgea scans your codebase. You can configure which security vulnerabilities (CWEs) to ignore and which files or directories to exclude from scanning. These settings help you tailor the scanning process to your project’s specific needs and reduce noise from irrelevant findings.File Ignore Rules
File ignore rules allow you to exclude additional project-specific files or directories from security scanning. Corgea already ignores common patterns like test files, dependencies, generated code, and build artifacts by default, so you only need to specify files unique to your project structure.What’s Already Ignored by Default
Corgea automatically excludes these common patterns from scanning:- Test Files:
*_test.*,test_*.*,*.test.*,*.spec.*,*__tests__/*,*test/*,*tests/* - Dependencies:
*node_modules/*,*python*/site-packages/* - Generated Code:
*generated.*,*.gen.go,*.pb.*,*.designer.cs,*.d.ts - Build Artifacts:
*build/*,*dist/*,*coverage/* - Configuration:
tsconfig.json,webpack.config.js,pnpm-lock.yaml,*compose*.yml - Other:
*migrations/*,*mock/*,*mocks/*,*fixtures*,*tmp/*,*log/*,*logs/*
How to Configure Additional File Ignore Rules
1
Navigate to Project Settings
Go to your project’s settings page from the project dashboard.
2
Access File Ignore Rules Section
Locate the File Ignore Rules section where you can specify additional files or directories to exclude from scanning.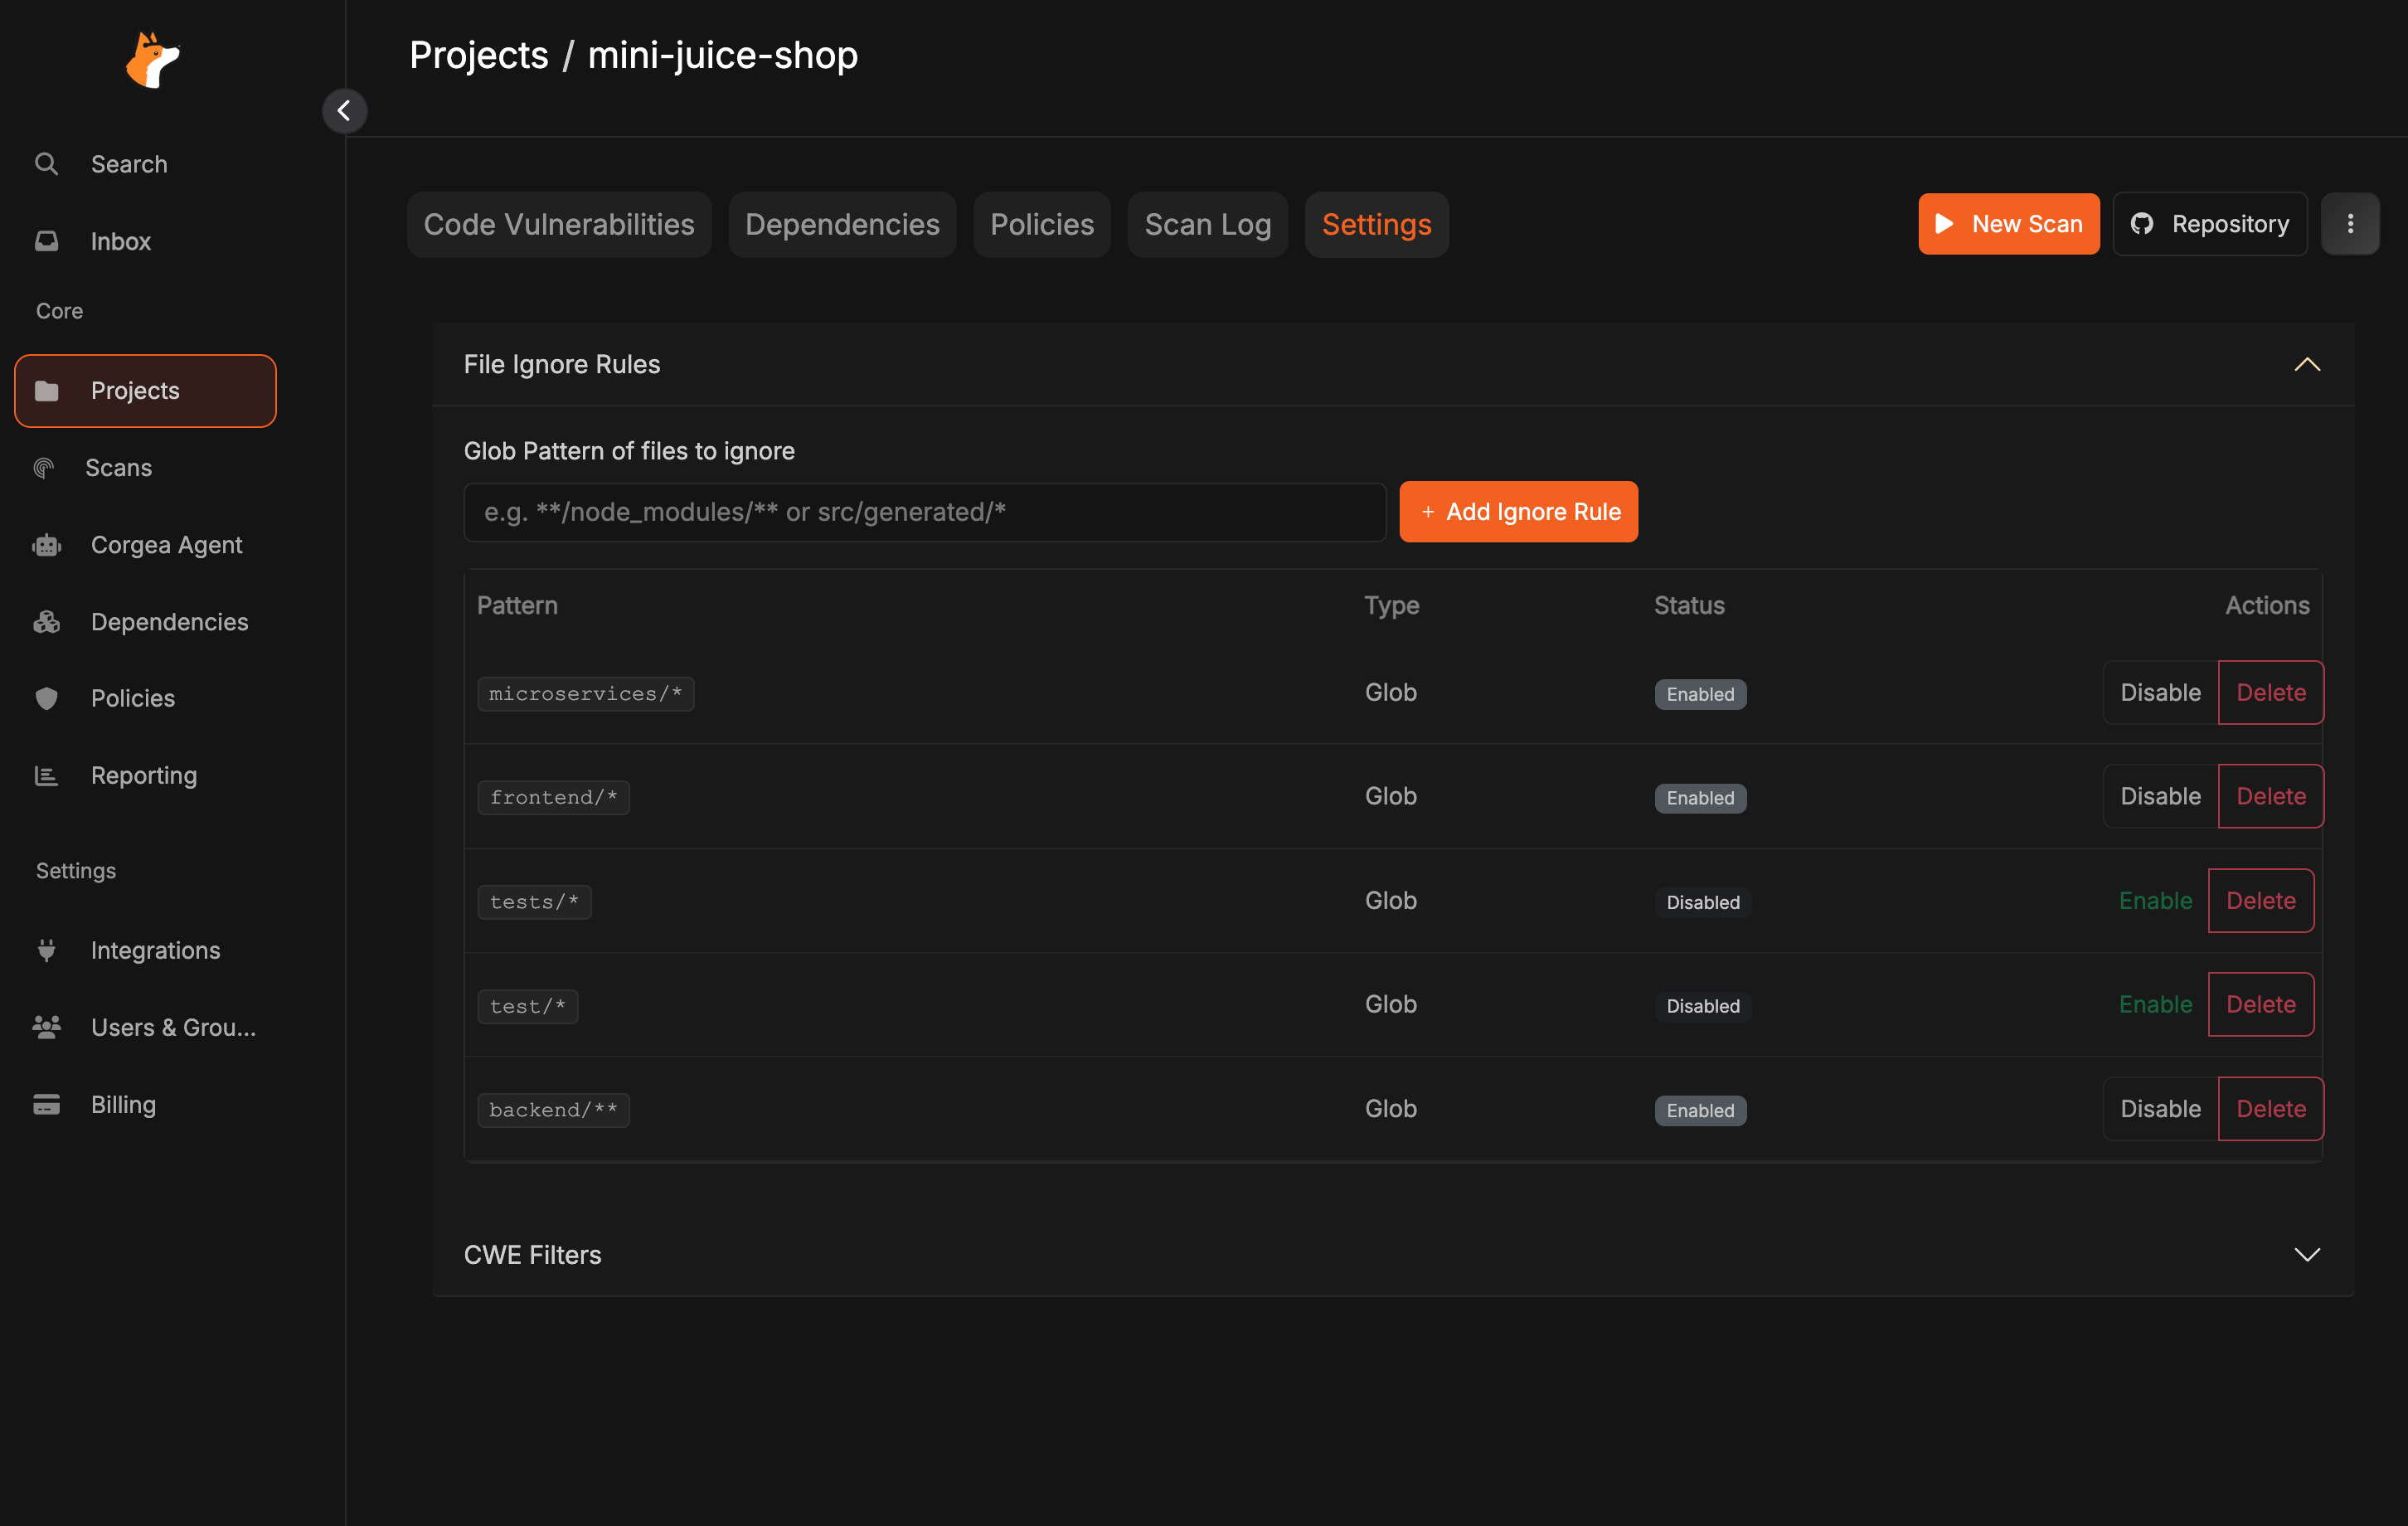
3
Add Custom Ignore Patterns
Define project-specific file paths, directory patterns, or glob patterns to exclude from scanning. Add multiple rules as needed for your unique project structure.
When to Add Custom Ignore Rules
Consider adding custom file ignore rules for:- Internal Tools: Scripts or utilities specific to your development workflow
- Legacy Code: Deprecated code sections not actively maintained
- Vendor-Specific Files: Custom third-party integrations or frameworks
- Documentation: Internal wikis, design documents, or markdown files specific to your project
- Data Files: Sample data, fixtures, or seed files unique to your application
- Custom Build Output: Non-standard build directories or generated files
CWE Filters
CWE (Common Weakness Enumeration) filters allow you to exclude specific types of security vulnerabilities from your scan results. This is useful when certain vulnerability types are not applicable to your project or when you want to focus on specific security concerns.How to Configure CWE Filters
1
Navigate to Project Settings
Go to your project’s settings page from the project dashboard.
2
Access CWE Filters Section
Locate the CWE Filters section where you can manage which vulnerability types to include or exclude from scanning.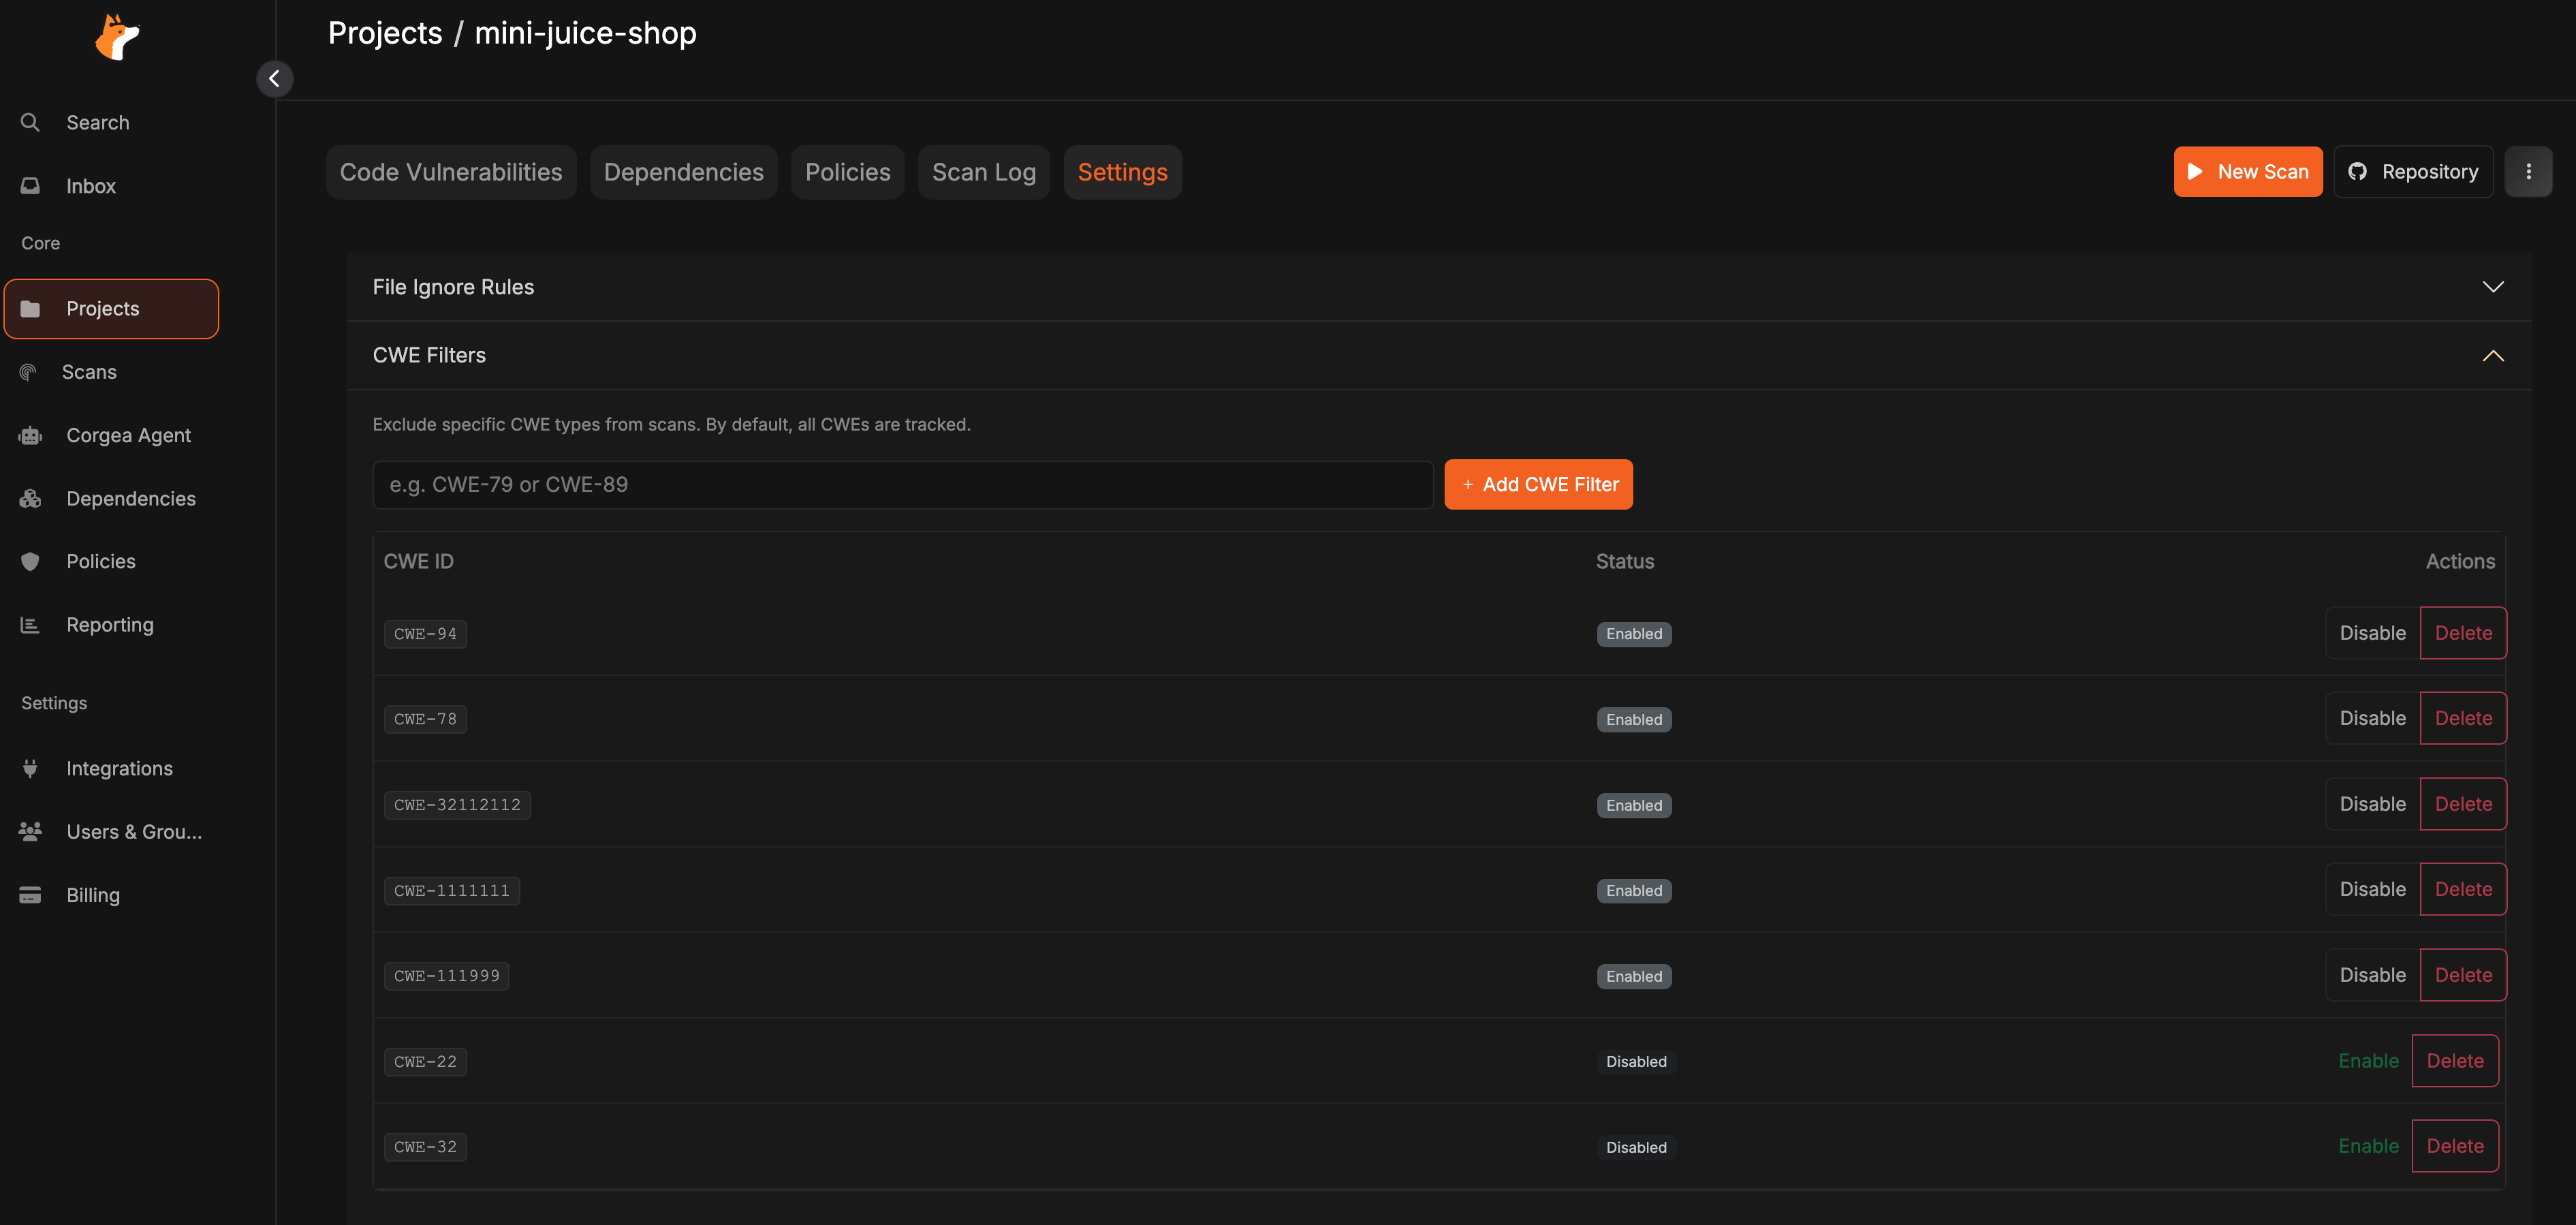
3
Select CWEs to Ignore
Choose the specific CWE categories you want to exclude from your scan results. Any vulnerabilities matching these CWE types will not appear in your scan reports.
Common Use Cases for CWE Filters
- Focus on Critical Issues: Filter out lower-priority vulnerability types to focus on critical security concerns
- Framework-Specific Filtering: Exclude CWEs that are handled by your application framework’s built-in security features
- Compliance Requirements: Align scanning with your organization’s specific compliance and security policies
- Development Phase: Temporarily filter certain CWEs during early development phases and re-enable them later
Best Practices
- Focus on Project-Specific Needs: Only add rules for files unique to your project; common patterns are already handled
- Keep Security-Critical Paths: Ensure authentication, authorization, and data handling code is never excluded
- Be Specific: Use precise patterns to avoid accidentally excluding important security-relevant code
- Regular Review: Periodically review your ignore rules to ensure they’re still appropriate as your project evolves
- Team Alignment: Document your custom ignore rules and ensure the team understands why specific files are excluded
Managing Settings
Saving Changes
After configuring your CWE filters and file ignore rules, make sure to save your changes. The new settings will apply to all future scans of the project.Impact on Existing Scans
- Settings changes only affect new scans performed after the configuration is saved
- Historical scan results remain unchanged and continue to show all previously detected issues
- To apply new settings to your codebase, trigger a new scan after saving your configuration
Project-Specific Settings
All settings are configured at the project level, allowing you to:- Maintain different configurations for different projects
- Customize scanning behavior based on project requirements
- Apply organization-wide policies while allowing project-specific adjustments
Tips for Optimal Configuration
- Start Broad, Then Refine: Begin with minimal filtering and gradually add rules based on actual scan results
- Document Your Choices: Maintain documentation explaining why certain CWEs or files are excluded
- Balance Coverage and Noise: Find the right balance between comprehensive scanning and actionable results
- Review Regularly: Revisit your configuration as your project evolves and security requirements change
- Test Configuration Changes: After modifying settings, run a test scan to verify the results match your expectations